I love 3D Printing. That’s not to say I’m very good at it, but its my distraction from normal life. I’m currently 5,500 miles away from my printers due to the COVID outbreak, so I’m doing as much research as possible for when I get back and have more isolation time to pick up some projects.
I’ve managed to get pretty good results (in my mind) with very small budgets and very few tools. First for my hardware:
ANYCUBIC Kossel Delta Plus:
https://www.anycubic.com/products/anycubic-kossel-3d-printer
This was my second printer I’d owned, but the first one I’d really gotten to function. My early jaunt into the reprap Prusa project didn’t give me particularly good quality results and because a dusty shelf occupier.
The Kossel Delta has been a fantastic machine- with auto levelling built in, and easy to print manual levelling dials and visual upgrades its really opened up my abilities. My upgrades listed below:
Levelling and anti twist:
https://www.thingiverse.com/thing:3130403
Tool holder:
https://www.thingiverse.com/thing:2356397
Frame caps:
https://www.thingiverse.com/thing:2820310
https://www.thingiverse.com/thing:1969059
It’s got a very low price point, and for me delivers everything I want from a starter printer. Watching the Delta style print head swing around is also very therapeutic...
For post processing, I use the basics:
Scraper (to get the print off the bed)
Scalpel (trimming any strings, minor reshaping of fitment points)
Sand paper (refining surfaces, tuning fitment)
Print some sanding sticks, loads on Thingiverse and make finishing by hand far easier (loads of these, have a browse for ones you like)
Palm sanders or Orbital sanders have been suggested to be great if you are really careful not to overheat the plastic... I’ve not gone for this method yet, but a few things on YouTube (see Frankly Built)
I’ve also learnt a fair amount about basic electronics to supplement my 3D printing addiction, a little about Arduinos coding (all learnt from YouTube, as per most of my learning) and setting up LED’s in the right way. It’s improved my projects massively and actually started to make them functional, and far better visually.


My basic electronics kit contains:
Soldering iron and solder
Various screw drivers
Heat shrink
Battery packs
wire
Once you buy your specifics for your project, LED’s, motors, switches etc- connecting them together should be easy enough with everything listed above.
My last and most recent tool was an Airbrush. Honestly, I’m on a budget. So I bought the cheapest one I could. It’s a Chinese no brand and came with a table top compressor. Although many people use rattle cans for getting a great finish, I’ve never had much luck so went for something new to me. It took a little patience and learning on how to mix paints properly (pay a lot of attention to this if you are new! Mixing brands of paints and thinners also needs to be tested outside of the airbrush, else you’ll end up spending hours getting a goopy blob out of the nozzle).
For info, my airbrush was around this cost but is not the same model, so I can’t vouch for quality of the below link, its just to give an idea:
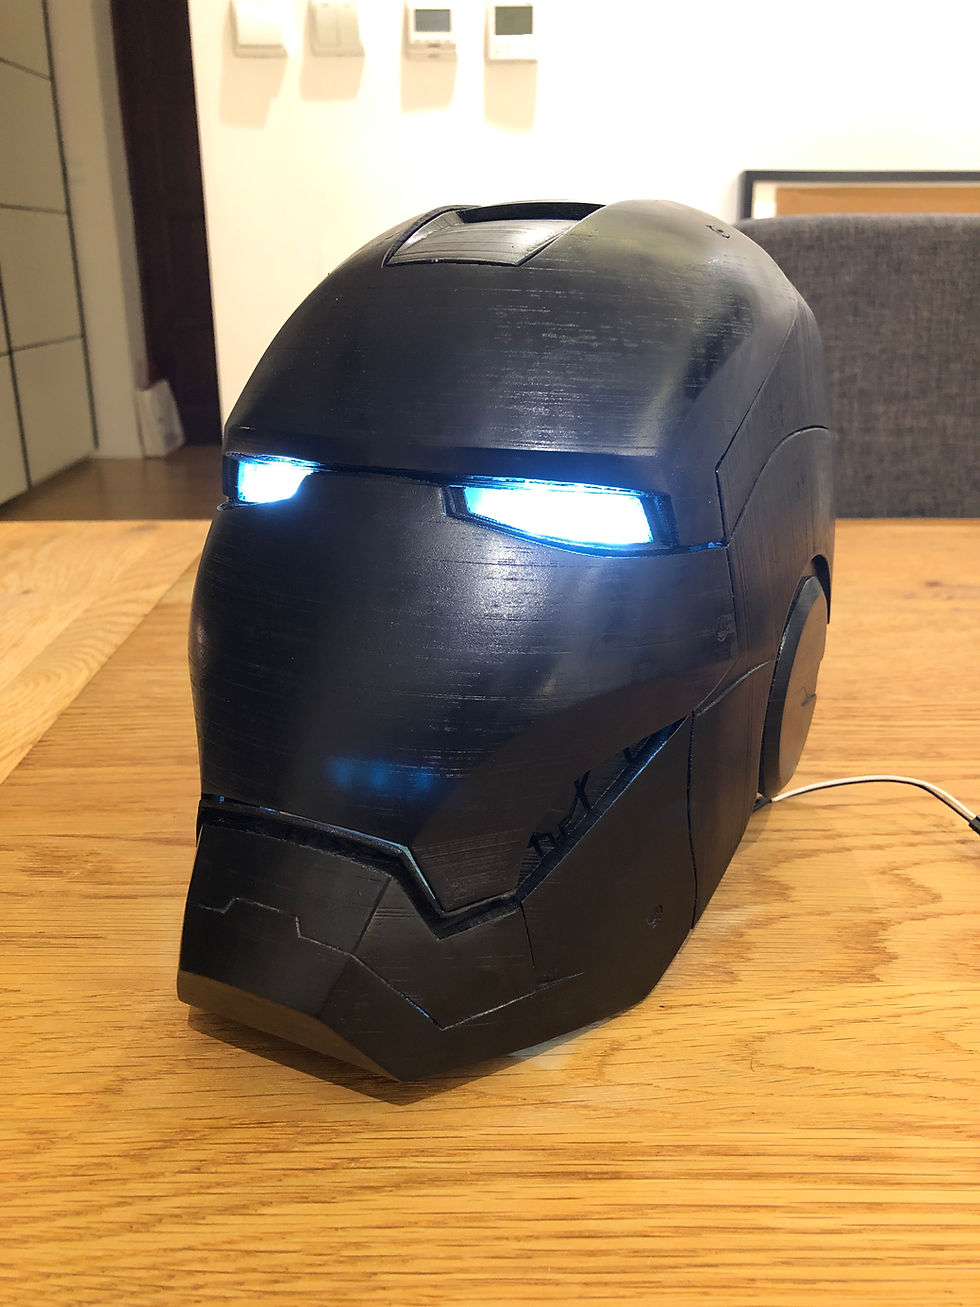
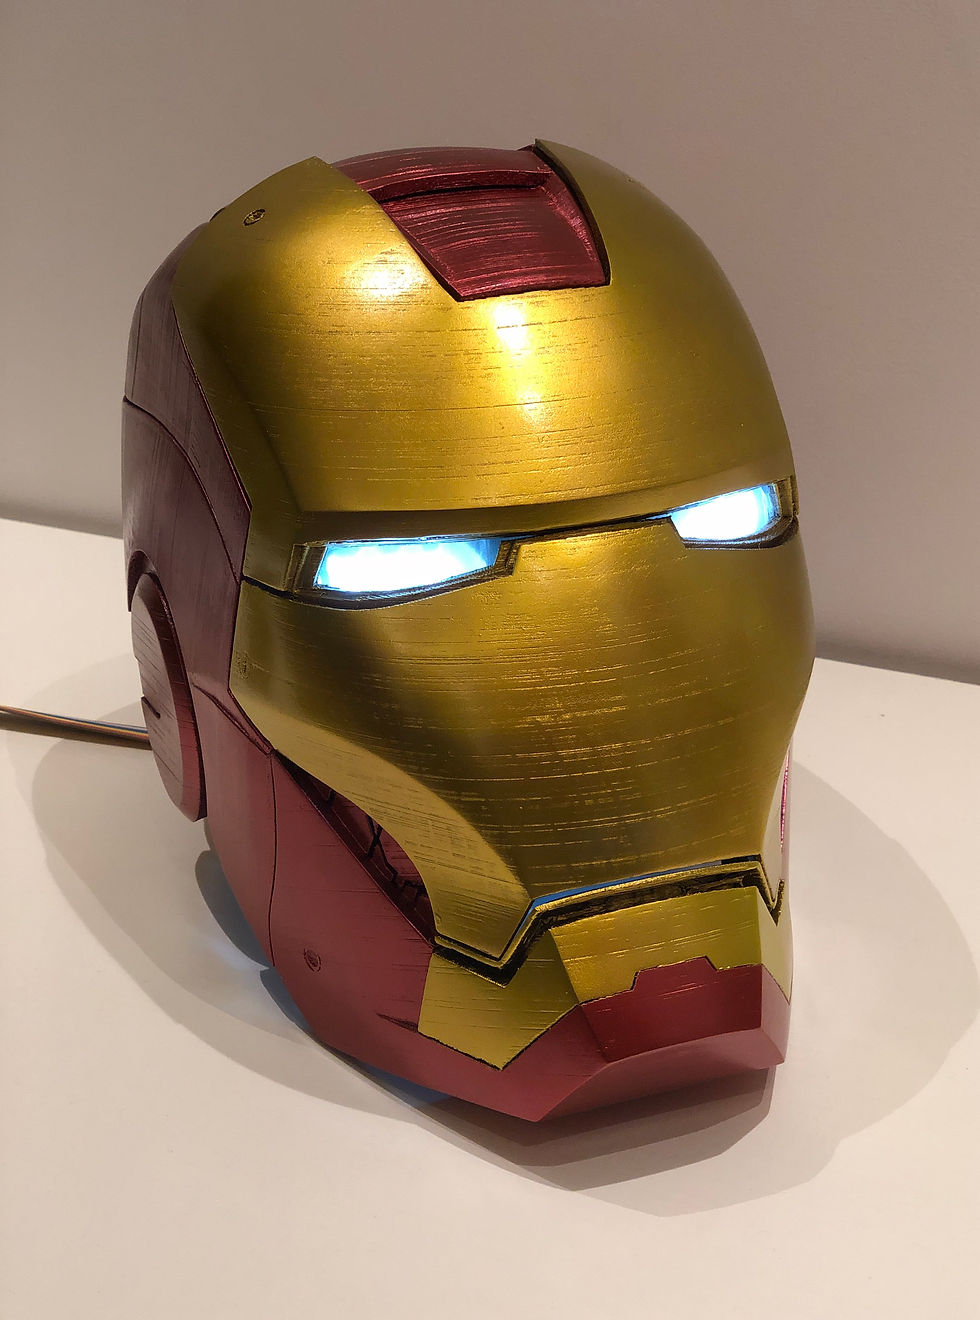
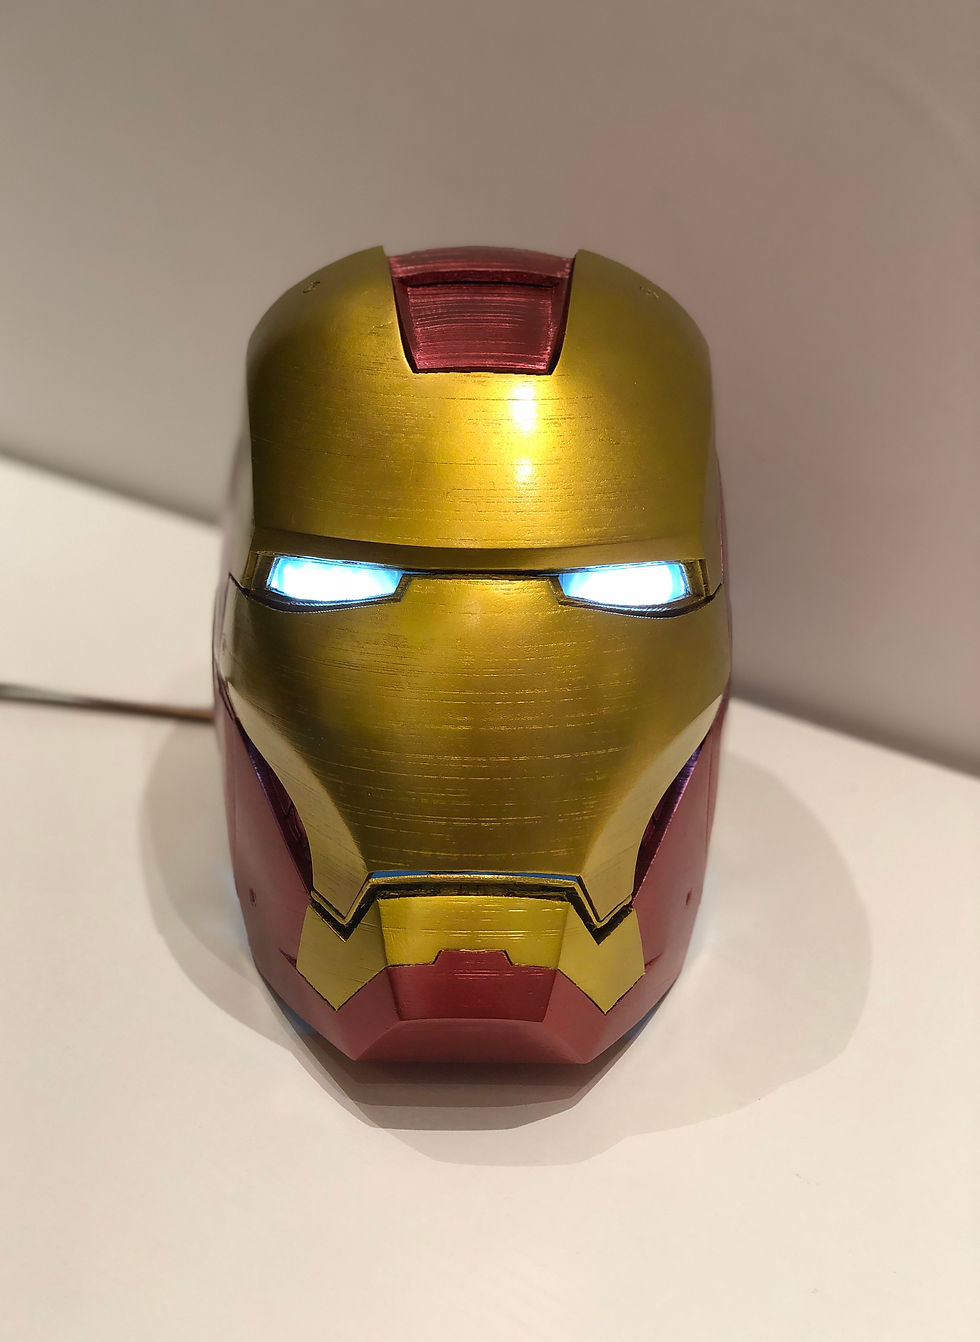
It yielded me some pretty good results, and as it was my first airbrushing project, and I know exactly how poor my prep was, I’ve very happy with how my first helmet ever came out.


There were no reprinted parts, everything was hand sanded (not enough... clearly), and there is no filler on it, couple of coats of basic primer and then 5-6 thin layers of colour over the top. Once I’m back to my printer, I’ll be using the same tools to try and do far, far better.
For filaments, I tend to use the Anycubic own brand- but honestly, from what I’ve been able to work out with some experiments, try lots of different brands until you are happy. Anycubic filaments are reletively cheap, and give me good results. Other people I know don’t get good outcomes unless they spend twice as much on special filaments. Printers are all different, and even the weather being different can give you different results. My advice is experiment and learn as you go.
I’m looking forward to working on one of DO3D’s models and experiementing with new finishing techniques very soon. Stay safe.


Love the arc reactor. What did you use for the light ring?